Turn your Raspberry Pi into an AI-managed device to securely run commands, manage software, and explore vibe coding and AI deployment
Link your Raspberry Pi to ChatGPT to automate setup, configuration, and operations. Start by using the pi GPT from Explore GPTs. Once you have created an account, you will be able to ask pi GPT to give you directions to setup your Pi (by installing noBGP on your Pi).
For additional help read the noBGP Getting Started Documentation to get started, watch our YouTube videos, or join our Discord.
Basics of Pi GPT & Simple Web Server Demo
Your default credentials are created when you create a noBGP account. You will be assigned a default network and network key. Do not share your network key. The prompt below will list your network and any nodes. You will not have any nodes when you start.
List my noBGP nodes

Ask ChatGPT to give you a customized install script to install noBGP on your Raspberry Pi. You will be asked to confirm you are giving ChatGPT permission to talk to noBGP.
Give me a code to connect my Pi
This will install noBGP on your Raspberry Pi on your default noBGP network. This network is private to you. All the devices you add to this network will be able to see each other through the noBGP node name (similar to a host name). You can ping <noBGP node name> from another device on the same network.
Install nginx on my Pi and make a simple web page thats says "Hello World! I'm using pi GPT to deploy infrastructure and applications"
This will install and launch nginx on your Pi node. The web page will only be available on a localhost port.
Create a public URL to share the webserver
This will create a secure HTTPS proxy to the webserver running on the Pi node. ChatGPT will return a URL in the format https://xxxxx.nobgp.com Anyone can now access the webserver using the URL.
Create a private URL to access the terminal of the node
This will create a browser based proxy to a full TTY terminal. You will have full terminal access to the node.

Note: There are two modes of sharing/exposing applications and services.
* Private: Authentication is required (using your noBGP account created during onboarding) and only the owner will be able to access
* Public: No authentication required. Anyone can access.
Vibe Code with Claude Code (any LLM) and deploy to any noBGP-enabled device
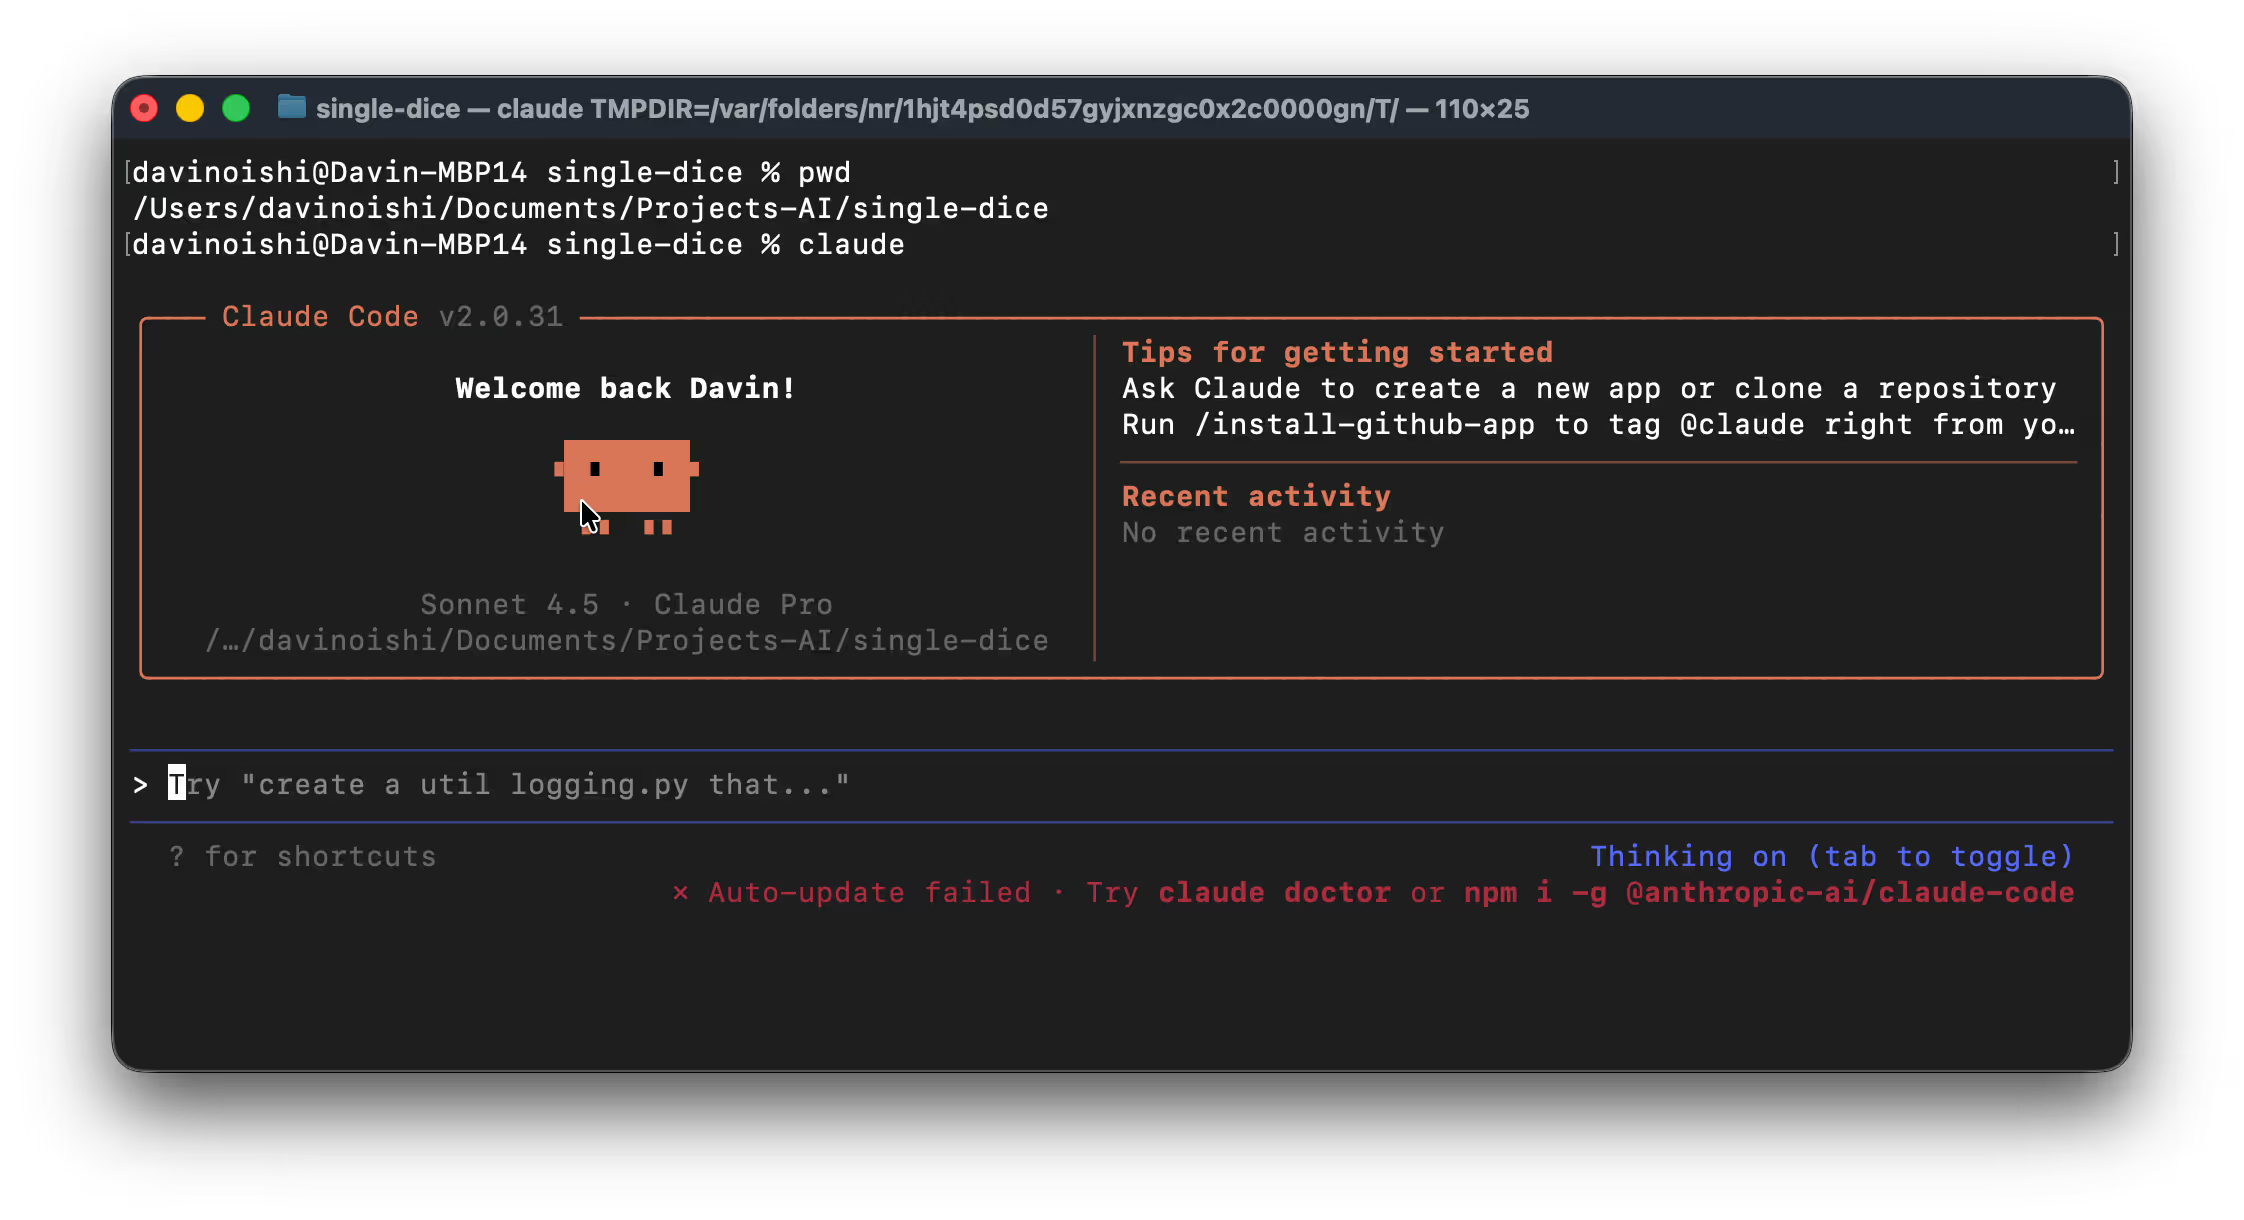
This example will walk through how to vibe code a project from scratch, but you could also start with an existing GitHub project and make your own updates and customization. First, go to the directory with the existing code or create a new folder for the project. Then start Claude Code in that directory.
Claude
Ask ChatGPT to give you a customized install script to install noBGP on your Raspberry Pi. You will be asked to confirm you are giving ChatGPT permission to talk to noBGP.
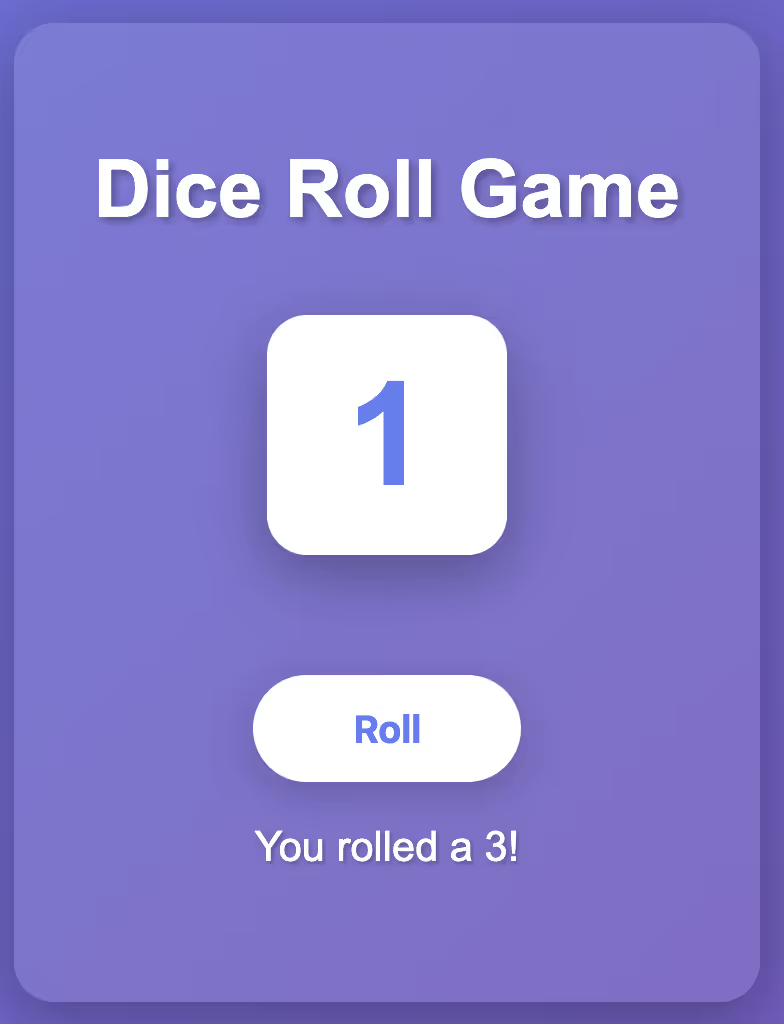
create a web game that rolls a single dice when the user clicks the 'Roll' button. The web game should have a dice animation simulating rolling before showing the final number.
You can test the output locally using a browser. There should be files in the project directory to open.
If you have your GitHub account authenticated from the command line, you can ask Claude to create a new project in GitHub and commit the code to the repo.
create a new github project for this game and commit the code
You can ask Claude to install the new GitHub project to any of your noBGP-enabled devices to launch this into production and also create a public URL for users to access the game. Claude will return a URL in the format https://xxxxx.nobgp.com
install github project <URL> on my <node name> and create a public URL to access the dice game
The game can be played at the URL.
Note: There are two modes of sharing/exposing applications and services.
* Private: Authentication is required (using your noBGP account created during onboarding) and only the owner will be able to access
* Public: No authentication required. Anyone can access.
You can continue to make edits and commit the changes to GitHub. Redeploying the server from GitHub as needed. GitHub is not a required step. But does make deployment to new nodes easier as the node will download the repo from GitHub directly.
MCP Examples for the more adventurous
Build and host your own MCP servers to communicate between multiple agent endpoints, share information to a group, etc. To be fair, the MCP ecosystem is fragile, so don't be surprised when it doesn't work at first. The good thing is you can have ChatGPT debug your setup, you can use the web terminal to monitor directly on the node or run commands yourself.
Notes:
* If you are testing unproven or new MCPs servers, malformed communications could break existing connections to MCP servers. Remove the misbehaving MCP before continuing.
* Building MCP servers: Many MCP servers you will find in github were written to run locally on the same device as your MCP client. This will not work for remote connections. You will need to use MCP servers with SSE or HTTP transport modes. Or wrap your stdio (local) MCP server with a project like SuperGateWay
* Many LLMs require a paid account to add custom MCP servers to your account. You may also have to enable developer mode to gain access to add custom MCP servers.
Chat Session Logger MCP Demo
This MCP will allow users to save chat sessions . Chat sessions are saved manually so you decide what to save. The entire conversation will be saved.
Install project https://github.com/davinoishi/session-logger-mcp, start the MCP, and expose a public URL so agents like Claude Desktop can connect to it.
Add the MCP to your Claude environment by adding the custom connector. (Will also work with ChatGPT)
* Under your avatar menu, select settings
* Select the Connectors menu
* Click Add Custom Connector button
* Fill out the form
* Name: Logger MCP
* URL: https://xxxxx.nobgp.com/sse (Use either the URL given to you after installing or the pre-made MCP link above)
* Click Add
* Locate the Chat Session Logger MCP from the connector list and click Connect
You should be able to instruct your LLM to save conversations, list conversation, and search in save conversations
Save conversation
List saved conversations
Search my saved conversations for 'haiku'
Broken Link Checker MCP Demo
This MCP will check individual URLs or domains for broken web links. You can install from a github repo and access from a private or public URL using the prompt below.
Deploy the project https://github.com/davinoishi/BLC-ground to my Pi node and create a public URL to access the local MCP server
Add the MCP to your Claude environment by adding the custom connector. (Will also work with ChatGPT)
* Under your avatar menu, select settings
* Select the Connectors menu
* Click Add Custom Connector button
* Fill out the form
* Name: Broke Link MCP
* URL: https://xxxxx.nobgp.com/sse (Use either the URL given to you after installing or the pre-made MCP link above)
* Click Add
* Locate the Broken Link MCP from the connector list and click Connect
You should be able to instruct your LLM to take a screenshot
You should be able to check individual URLs or complete domains.
Check for any broken links on the page www.nobgp.com
Check for any broken links on the site www.nobgp.com
Notes:
* Some site may block broken link scanning
* Larger site may return a error and change the depth of URLs the MCP will scan for
ScreenShot MCP Demo
This MCP will allow your LLM to take a full screenshot of any URL. You can install from a GitHub and access from a private or public URL using the prompt below.
Install projects https://github.com/davinoishi/HTTP-ScreenShotMCP and https://github.com/supercorp-ai/supergateway. Ensure the projects are configured to run headless. Create a public URL so Claude Desktop can connect to this MCP.
Add the MCP to your Claude environment by adding the custom connector. (Will also work with ChatGPT)
* Under your avatar menu, select settings
* Select the Connectors menu
* Click Add Custom Connector button
* Fill out the form
* Name: ScreenShot MCP
* URL: https://xxxxx.nobgp.com/sse (Use either the URL given to you after installing
* Click Add
* Locate the ScreenShot MCP from the connector list and click Connect
You should be able to instruct your LLM to take a screenshot
Take a screenshot of www.noBGP.com
Notes:
* There are Claude limitations on the size of the returned object. Screenshots larger than 1MB may fail.
* Screenshot will fail if you try to take a screenshot of the same URL proxy hosting the MCP
* Some sites may fail as they block automatic screenshot capture. The www.nobgp.com URL should work for testing.